Cute Fairy Tale-like Double-sided Baby Quilt

I finished the double-sided baby quilt for my to-be great-granddaughter! I enjoyed making it. I made it out of flannel material, using rich colors, not pastels. There was no blue, just a turquoisy/aqua blue. It worked. Like I said, I wanted color, not the regular, boring, baby pastels. Yuck.
I looked online and in books for making a double-sided quilt. Nada. Nothing. There was a few that said they were, but they all had the plain backside. Some called that double-sided. That was not what I wanted. I wanted the quilt to look similar no matter what side was used. Is that weird?
I got a light and dark or different pattern flannel in 4 colors- that aqua-like, red, green and purple. For the ninth fabric, I got a golden yellow. One of the reds reminds me of ladybugs. I have some left over… Maybe I have time for a ladybug toy? We shall see. The baby’s room is going to be in a jungle theme. The quilt does not fit the theme, but the colors work. I had a heck of a time getting the photos to show the true colors. They are still not right, though I tried my digital and phone cameras. I find that weird. Even using my editing program did not get them quite right. Ah well.

The double-sided quilt is nine 6″ squares across and down. Yep, that meant 81 squares for the front and 81 squares for the back. I know, it is huge for a baby quilt. Technically, it is almost the size of a throw. This should last her for a bit at least.
The photo of the first side with the remaining stack of squares shows (somewhat) the colors and how big the stack for a side was. I put them in order to be sewn for each row. Instead of staggering the squares one-over like most do, I went two squares over to not have that diagonal line on the quilt, if that makes sense. Though I had searched quite a bit, it seems no one makes double-sided quilts with squares front and back like this, at least not anymore?
Flannel is a lovely material for quilts. The down-side is that it tends to creep when sewing it together on a machine. I found that hand-basting the squares together first, then sewing and pulling out the basting when done machine-sewing, the best method. I know, that is a lot of work. I do not mind doing it. Sewing is rather like meditating for me. I did the same thing for putting the rows together, hand-basting them together first before machine-sewing.
I used my treadle and hand-crank sewing machines to sew the squares together, then I sewed 1/8″ from the seams on both sides of the seam. Flannel can fray and get thread balls along the seams. This stops it from occurring. I hand-basted the rows and then did the same top-sewing along those seams. At some point, I am getting a pinking shears blade for my rolling cutter thing.
Basting the quilt “sandwich” together was interesting. I put a ball-headed pin from the bottom side through a square’s corner where it came up through the corner of the square on top. Every corner. This helped me baste it down so the squares “matched” (somewhat?) where the seams are. Basting the sandwich together was “interesting” with the occasional pricking when I was not watching where I put my hand as I smoothed each square area into place. It looked like some sort of evil porcupine or something, all these huge pins poking out all over.
I know, how I did this does not make not sense. I am sorry, but I did not take photos to show what I did. It worked and I did not shed any blood while doing so. Oh… I used a cotton batting. I am not a fan of the plastic polyester stuff, even the blends. It feels unpleasant to me.

After hand-basting the squares and the edges together, I had to decide how I wanted to quilt it. I thought about quilting an “X”, circle or square in the squares. Instead, I went for old-fashioned tying. I put 5 to a square. Oh yeah, there is 405 of them. laughing…
The other side, the back so to speak, has a small black dash. I used #8 pearl cotton in black. It went best with all the colors, especially since two fabrics had black dots on them. I made the binding out of some dark forest green flannel I had on hand. To me, the quilt reminds me of the drawings in the old fairy tale books I read when I was young. I like that, really.
Ta-Da! Finished Double-sided Baby Quilt!
My mitered corners on the binding is not perfect. laughing… They still look fine. I washed the quilt on the gentle cold cycle, put it through another spin at a faster speed and then dried it on a low setting.
It is covered in tissue paper and then will go into a plastic bag. I do not want it getting stinky when we drive down to see her and attend the baby shower. I’ll do a proper wrapping when we get to our daughter’s home. In the photo to the right, the colors look muddy. In the photos above, they are still not “right”. No matter, it is a soft, cuddly and colorful quilt. I hope it lasts her for many years!
Hugs!


you may also like
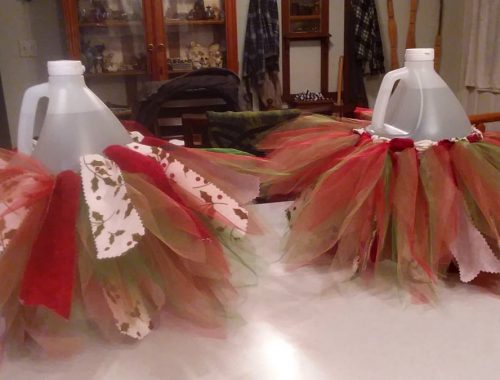
Cute Fabric and Tulle Fairy Princess Skirts

How to Make a Homemade Custom Reading Deck Box – Helpful Construction Tips